
TURN IT ON
Hold POWER for about 2 seconds. You'll hear it turn on and the viewfinder comes alive. Press POWER to put it to sleep to save battery; tap any button to wake it.

Front
Back

Everyday shooting in any light

People, with punchy highlights

Unprocessed, for editing later

Landscapes & nature

Classic black & white with grain

Retro, nostalgic scenes

A fun, vibrant alternative
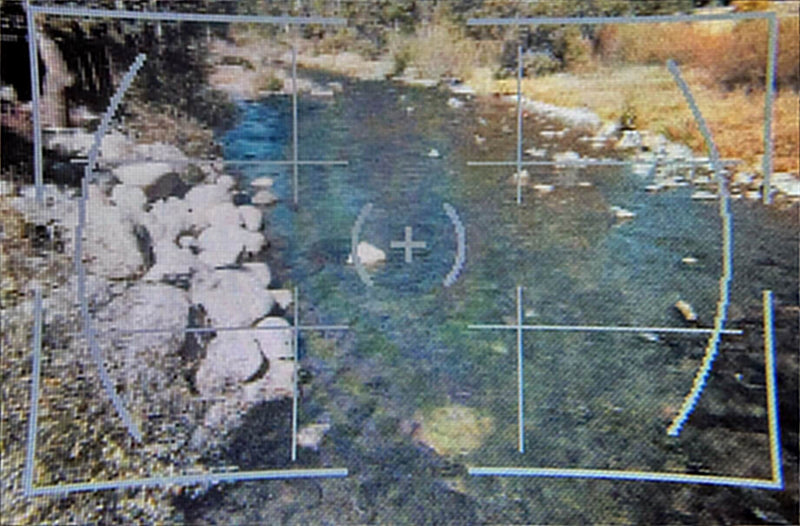
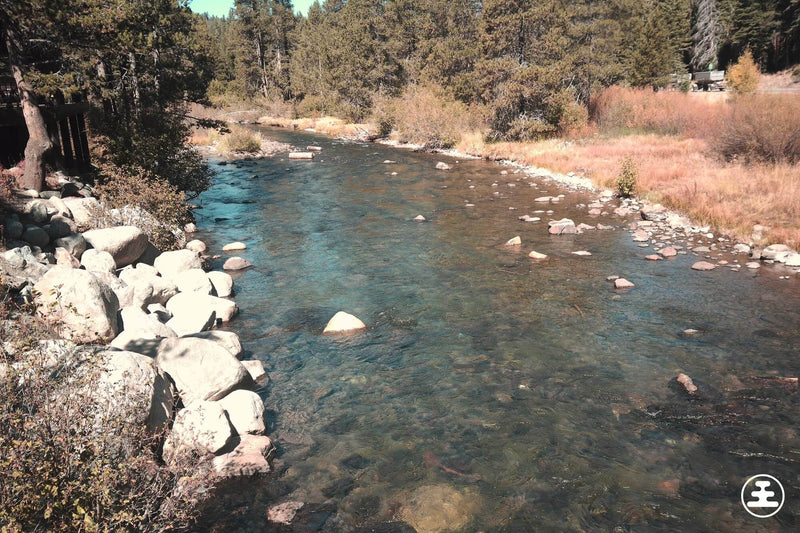
Portal’s digital viewfinder is a quick framing tool, built for lining up your shot rather than showing every detail. We kept it simple on purpose so the camera stays easy to pick up and shoot. The photo Portal captures is sharper and richer than what you see on screen.
Center your subject, press the shutter, and Portal captures a richer shot than the screen shows.
Pro tip: you can turn the grid on and off in Menu.
Stay at least 3 feet from your subject.
Good light makes a big difference.
Hold steady until you hear the shutter sound.
Tap the shutter to snap a photo. Hold it for 3 seconds to start recording 4K video.
Plug the Portal into your computer or phone with the included USB-C cable. The viewfinder shows a connection indicator.
Open Finder (Mac) or File Explorer (Windows) and find the NOCS PORTAL folder.
Copy your photos and videos somewhere safe.
Once they’re copied, delete them from the camera to free up space. The included card is 4GB; the Portal takes microSD up to 128GB.
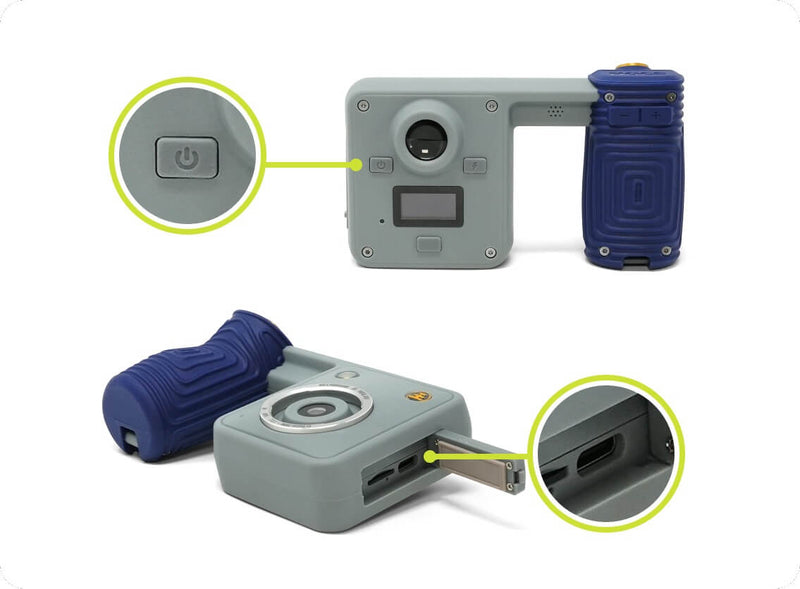
Hold the power button for 2 seconds until the viewfinder lights up.
Running low? Charge it for 2 hours via USB-C, and the green light turns off when you’re good to go.
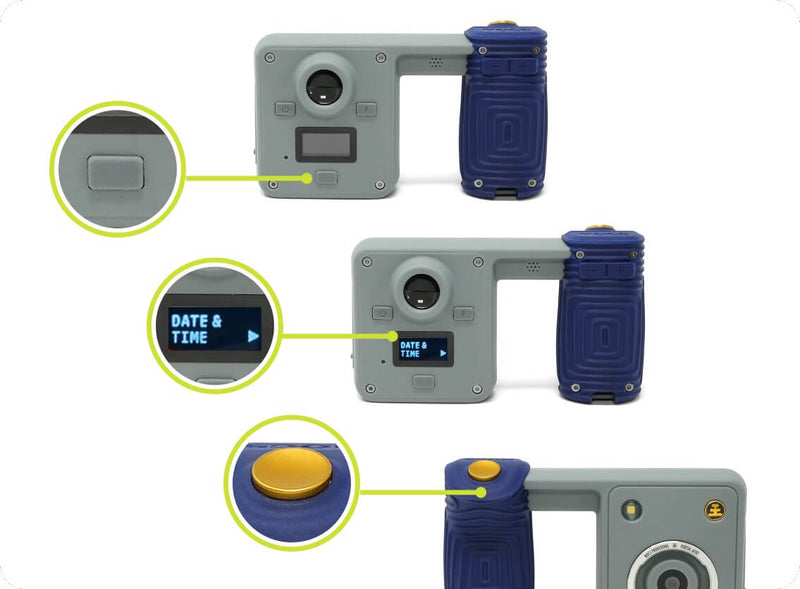
Press Menu until you land on Date & Time, then press the Shutter button to select. Use Menu to adjust and Shutter to confirm, so every adventure gets stamped with the right day.
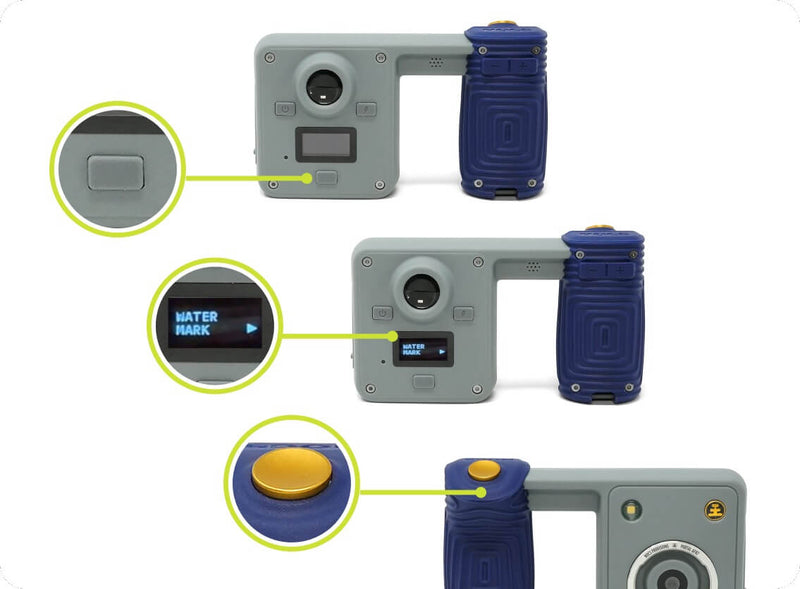
Watermark is toggled ON by default. To change it, use the Mode button (center bottom, beneath the screen) and the Shutter button to navigate to Image Settings > Watermark, then turn it OFF.
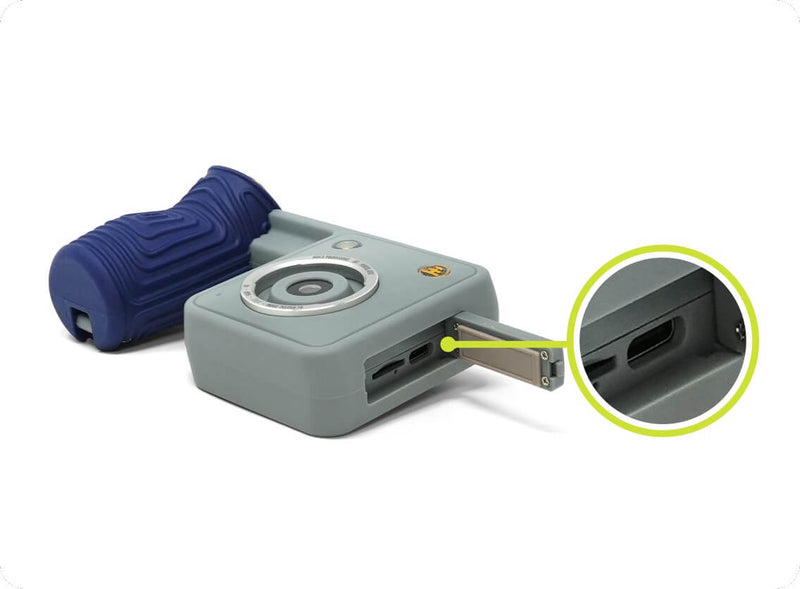
Plug the Portal into your computer or phone with the USB-C cable, open the NOCS PORTAL folder, and copy your shots wherever you want them.
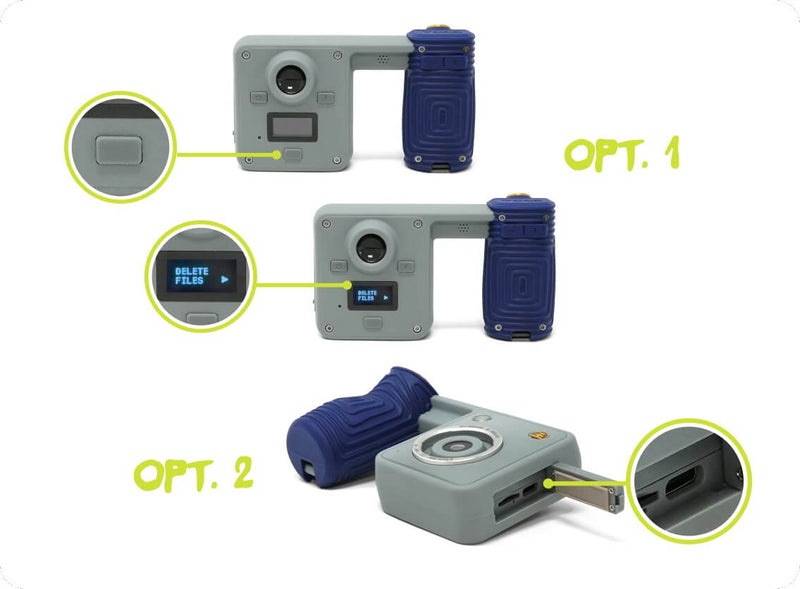
Once your shots are safely copied, free up space on the camera: press Mode until you reach Delete Files, then press Shutter to select. You can also delete them straight from the NOCS PORTAL folder while you’re plugged in.
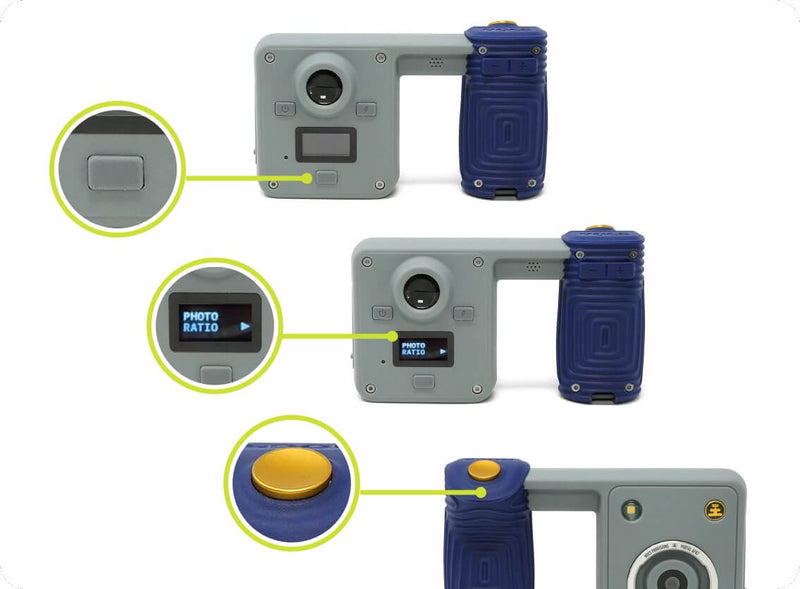
Wide for landscapes, square for your raccoon pals. Press Mode, select Image Settings with Shutter, then go to Photo Ratio. Use Mode to cycle through 16:9, 5:4, 4:3, 3:2 and Square, and Shutter to lock it in.
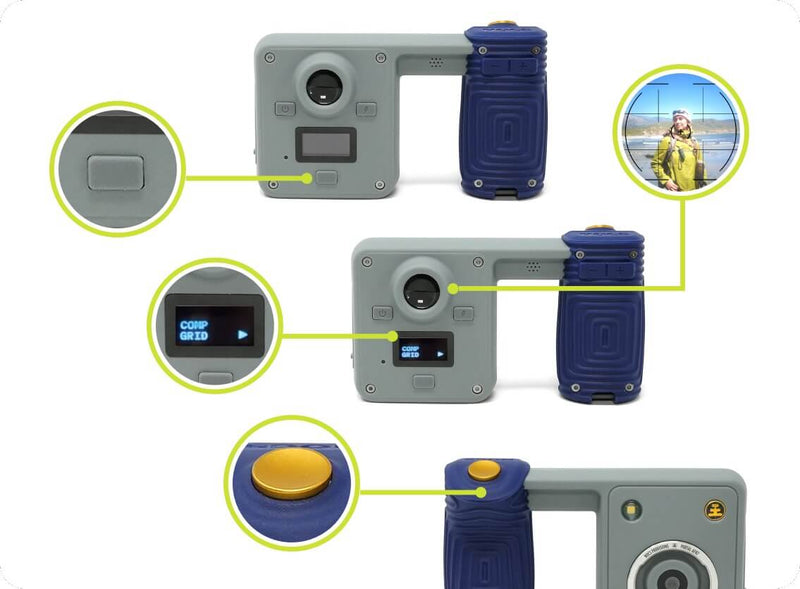
Line up straighter horizons and better-balanced shots with a composition grid in your viewfinder. Press Mode, select Image Settings with Shutter, then scroll to Comp Grid. Use Mode to toggle it on or off, and Shutter to lock it in.
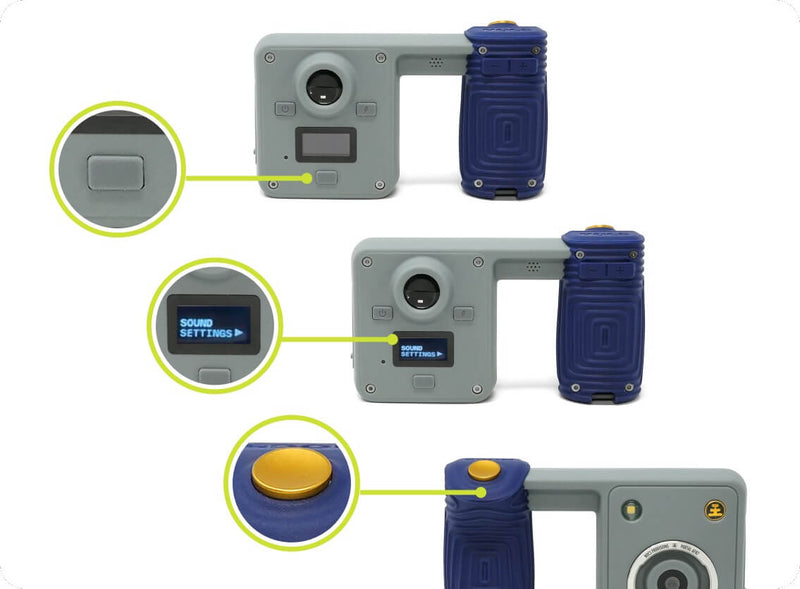
Prefer to shoot quietly around wildlife? Press Mode until you reach Sound Settings, then press Shutter to select. Use Mode to change the setting and Shutter to lock it in. The options include MIN, MAX and OFF.

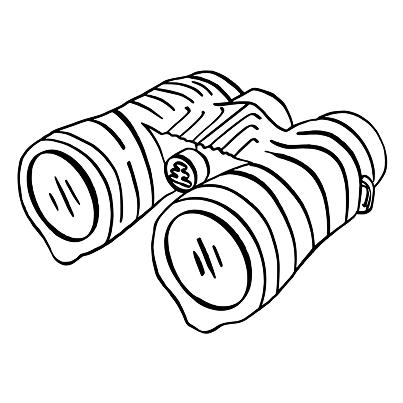
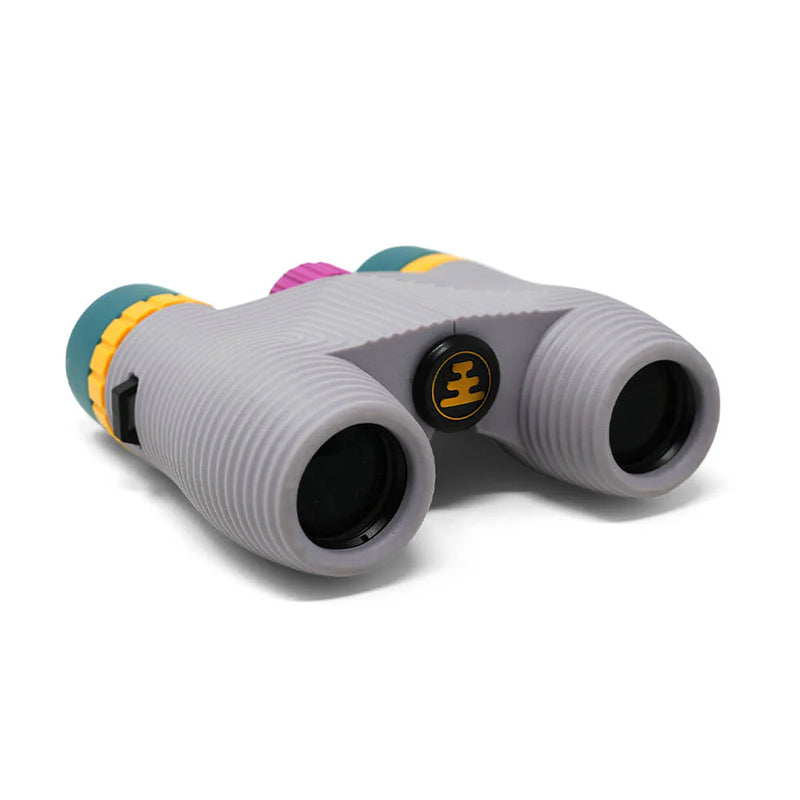
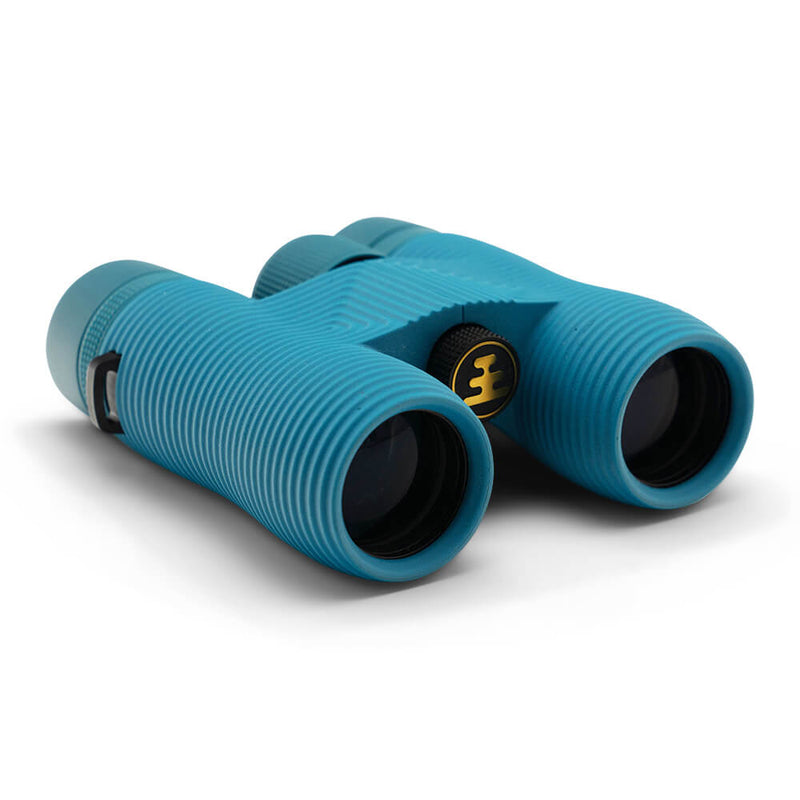
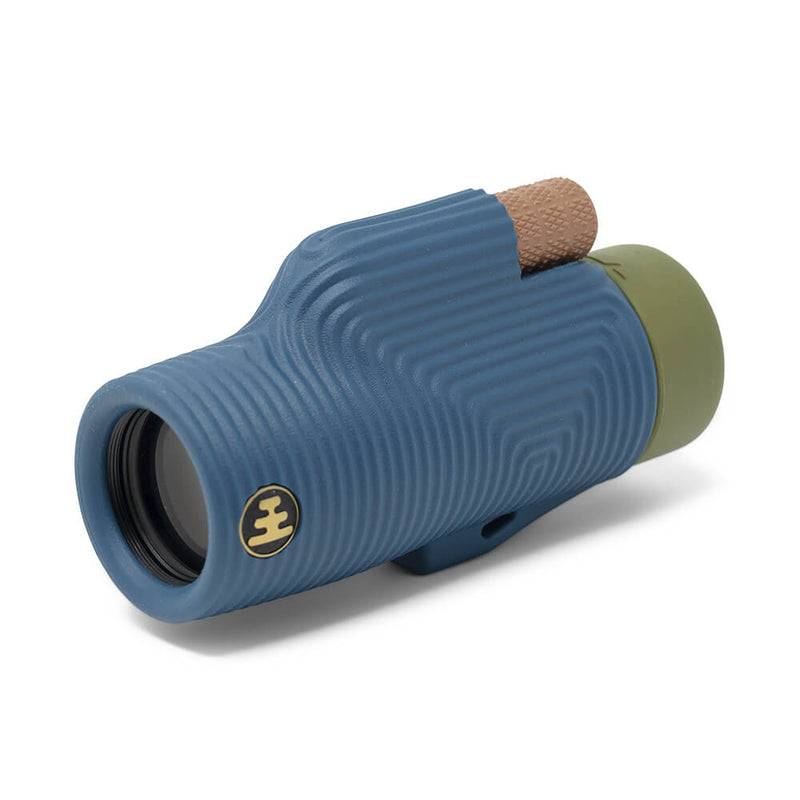
Focus through your binocular or monocular first.

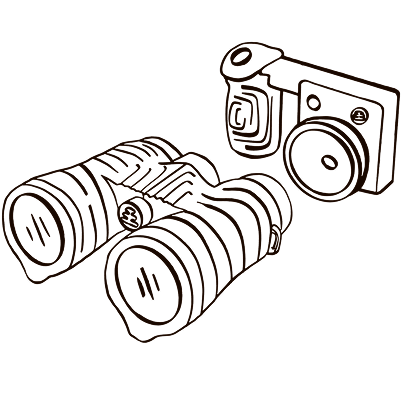
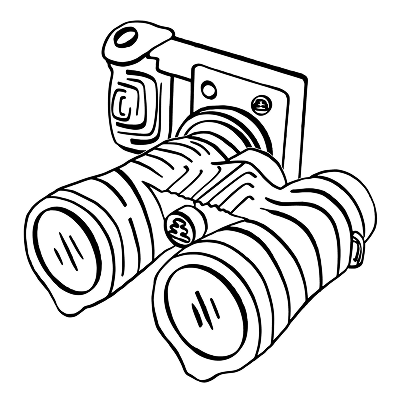
With eye-cups twisted in, align your optics with the NocDoc sun shroud.
Snap away! You’re now ready to shoot photos or video through your Portal.

Yes. Portal AFN7 works with all Nocs binoculars and monoculars, so your optics become a long lens for your camera. Twist on the included NocDoc, line up your optics, and shoot.
NocDoc is the included alignment tool that lines your camera up with your optics. Twist it onto the camera bayonet system and hold your binocular or monocular eyecup to it. Beveled edges inside fit different eyecup sizes, and it doubles as a small sun shade.
So you can see what your optics see. A traditional see-through viewfinder only shows the view in front of the camera, not through your binoculars. The digital viewfinder shows you the lens view in real time. (The viewfinder also automatically adjusts to show you what the currently selected preset looks like.)
The viewfinder has crosshairs and a grid to help you aim at your subject. You can also shoot at arm’s length or flip the camera around for selfies.
It shoots 4K. Hold the shutter button until the red recording light appears, keep holding, and release it to stop.
Yes, with 8x digital zoom. For more reach, shoot through your Nocs.
More than 2,000 photos, or about 180 minutes of continuous 4K video.
It comes with a 4GB microSD card and accepts cards up to 128GB.
It’s highly water-resistant and weather-sealed. The IP56 rating means it’s tested against dust, rain, spray and whatever the trail throws at it. Toughwave™ rubber armor adds grip and impact protection. Just don’t take it swimming. In short, it can basically do anything and go anywhere besides submerged underwater.
Plug it in. Any computer with a USB-C port will recognize the camera, and your files show up automatically, with no app or Wi-Fi needed. No USB-C port? A standard adapter works. You can also plug it in directly to a smartphone with a USB-C port.
Yes. Any iPhone or smartphone with a USB-C port will recognize the camera, and your photos appear in your Photos or Files app. For best results, keep your phone and camera updated. Older iPhones with Lightning ports can’t connect directly, so transfer photos to a computer first.
Use the included USB-C cable, or any USB-C cable that supports data and charging. Plug it into a computer, wall adapter or power bank until the indicator light turns off.
Lifetime coverage for manufacturing failures; 2-year coverage for electronics.